
Gas Fire Pit Construction: A Prescott Guide
A Prescott homeowner often starts with a simple idea: a warm, low-maintenance gathering place near the patio where family and friends can stay outside after sunset. Then the practical questions arrive. Where should the pit go? Does it need a permit? Should it use natural gas or propane? Who handles the line, vents, ignition, and inspection?
Gas fire pit construction is more than setting a burner inside a stone surround. The finished feature needs a stable foundation, correct clearances, fuel-specific ventilation, accessible shutoffs, and components installed according to the burner manufacturer's requirements. R.E. and Sons Landscaping helps homeowners in Prescott, Prescott Valley, Chino Valley, and nearby Northern Arizona communities turn a backyard concept into a carefully planned outdoor living feature.
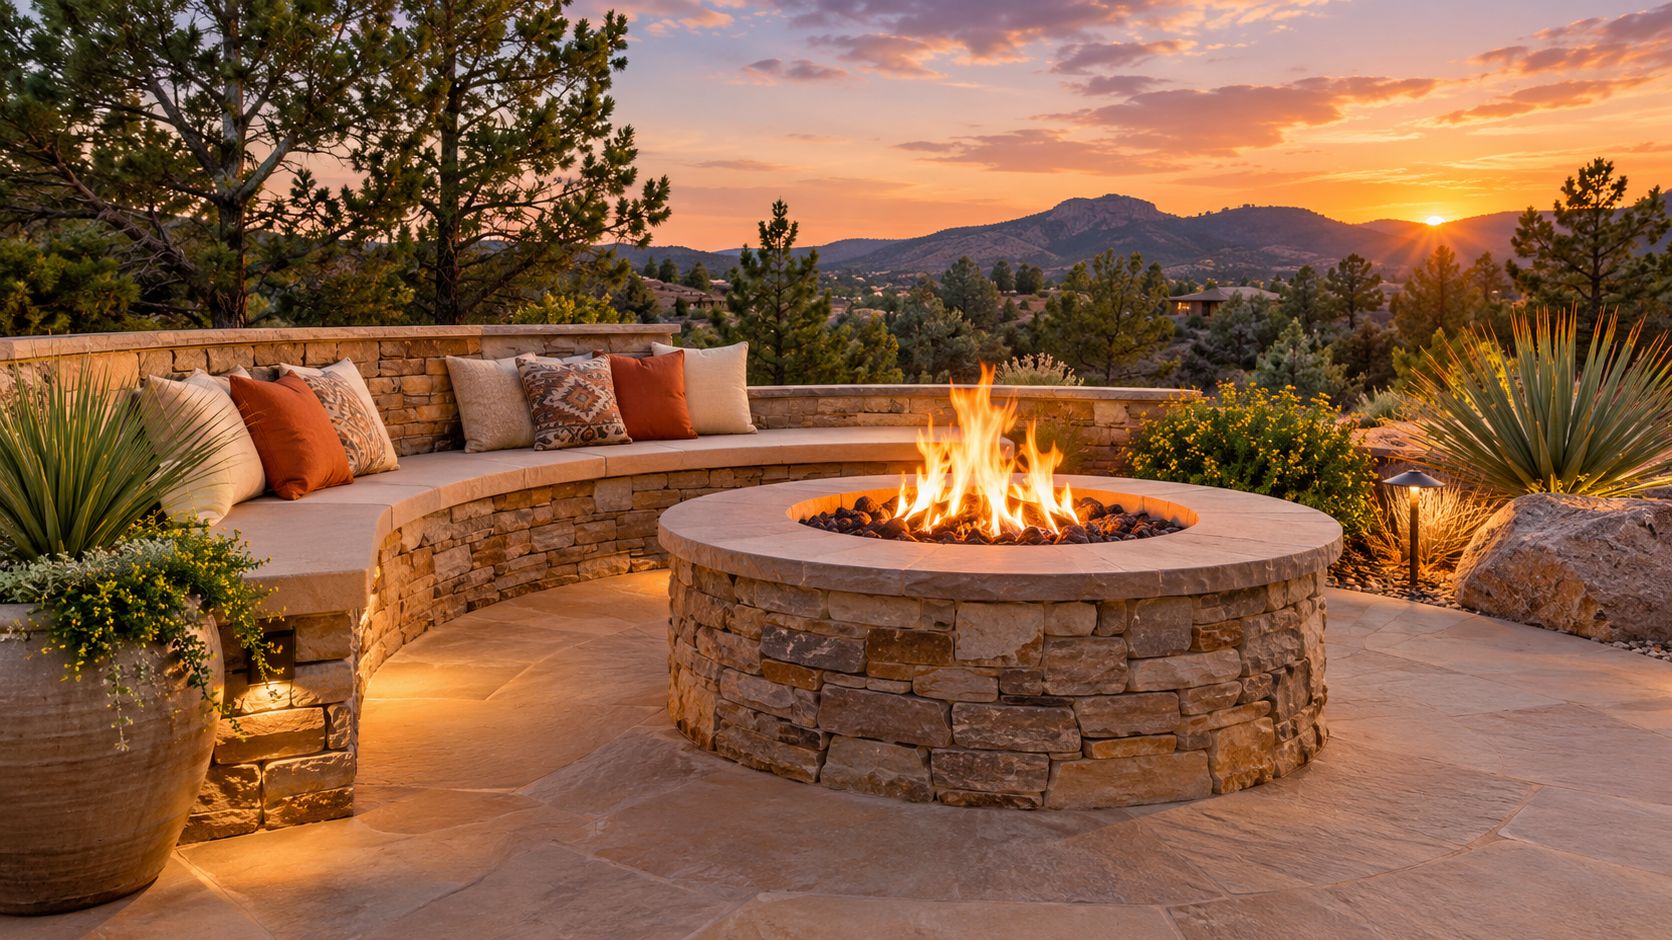
The right approach begins before excavation. Site layout, fuel selection, burner sizing, gas work, local review, and long-term maintenance all affect whether the fire pit performs reliably through Prescott's dry climate, temperature swings, and windy conditions. This guide focuses on those decisions, including what homeowners can coordinate themselves and where licensed trade work belongs. For design inspiration, see this overview of outdoor fireplaces and fire pits.
Planning a Safe Gas Fire Pit for Your Prescott Yard
A gas fire pit usually works best when it's planned as part of the yard instead of added as an isolated object. A seating wall, paver patio, pathway, and nearby planting beds all affect the pit's location. In a Prescott Valley yard, for example, a feature that looks comfortably separated from the house may still sit too close to a fence, pergola, railing, or dry ornamental grass once the entire layout is marked on the ground.
The first decision is how the space will be used. A homeowner who wants quick evening warmth may prefer a compact insert with simple controls. Someone designing an outdoor room may want a built-in stone or concrete surround, integrated seating, and an electronic ignition system. Both can work, but the enclosure, fuel route, drainage, and service access need to be designed around the selected appliance.
Practical rule: Choose the burner and fuel path before finalizing the enclosure dimensions. A beautiful surround can't correct an undersized gas line or an inaccessible shutoff valve.
R.E. and Sons Landscaping works with homeowners who need more than a decorative ring placed on a patio. The company's design-build work covers site layout, paver and stone construction, fire pits, fireplaces, and related outdoor living features across Prescott and surrounding Northern Arizona communities. That local context matters because an installation has to fit the property's slope, existing utilities, prevailing exposure, access, and local review process.
The planning conversation should answer a few direct questions:
Where will people sit? Keep the fire feature positioned for comfortable circulation, not directly in a narrow passage or beneath a combustible overhead structure.
What fuel is available? A nearby natural gas supply may support a permanent installation, while propane can suit a property without an accessible utility connection.
Who will service it? Leave access to the valve box, controls, ignition components, and burner so future inspection doesn't require dismantling the patio.
What will happen during winter or extended vacancy? The design should allow the system to be shut down, covered, drained where appropriate, and checked before use resumes.
The most reliable projects treat compliance and maintenance as design requirements. That approach prevents a common Prescott-area problem, a fire feature that looks finished but has no practical way to inspect the gas connection, clear debris from vents, or reach the shutoff.
Site Layout and Foundation Basics
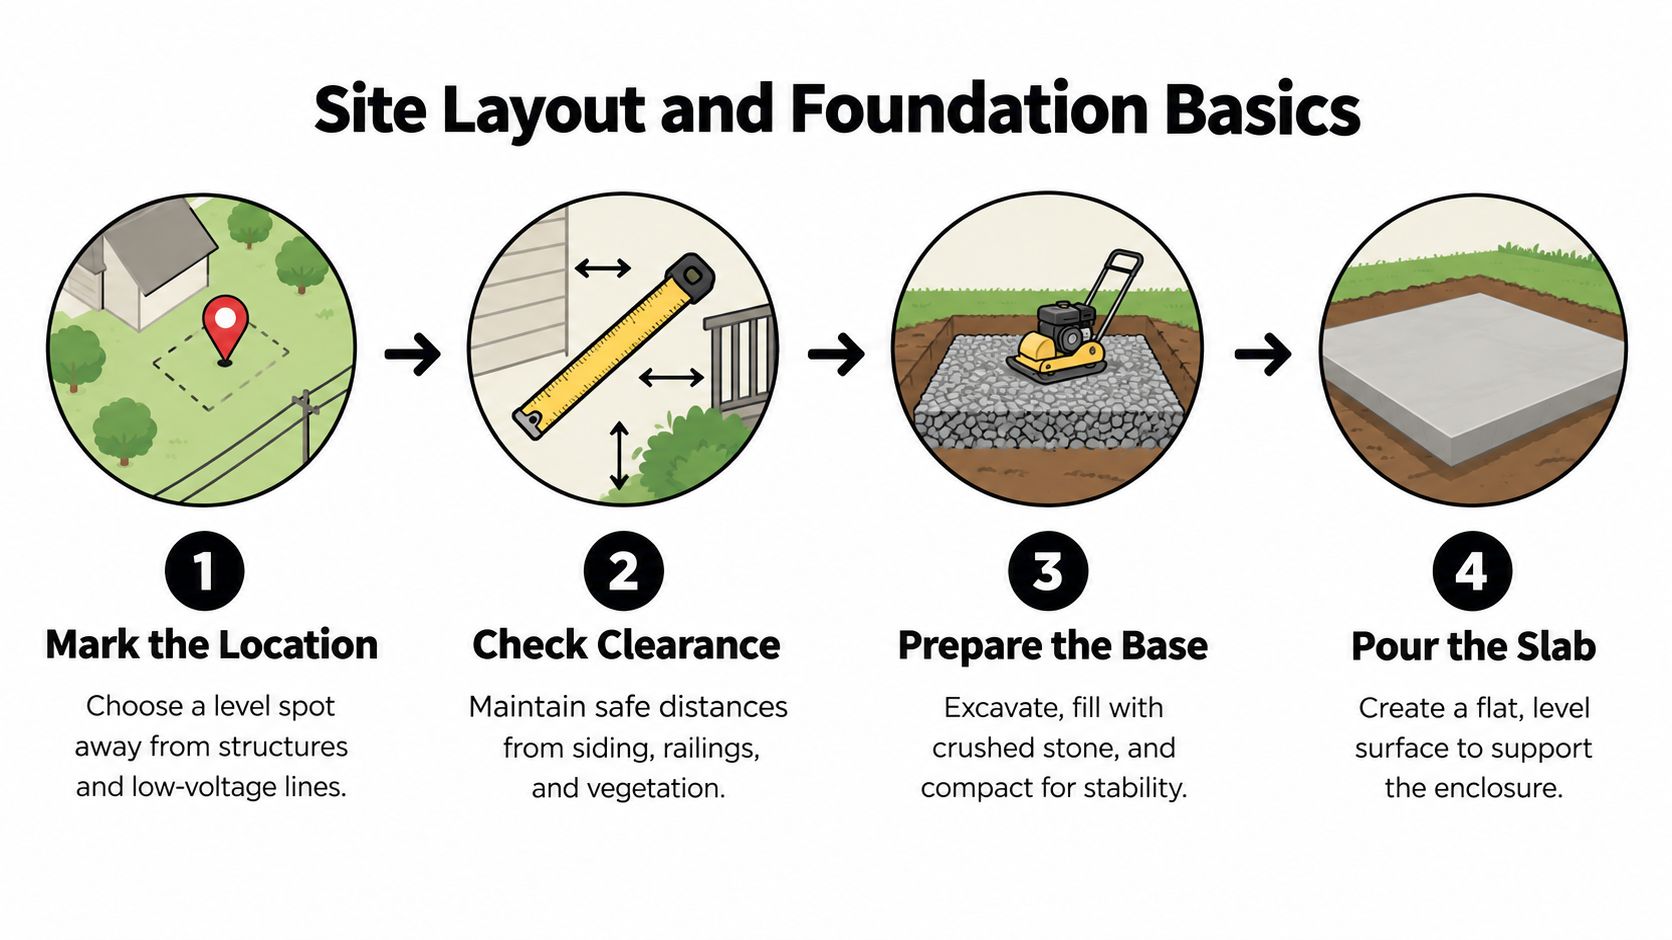
Start with the ground, not the flame. A gas fire pit needs a level, stable, non-combustible base that can support the enclosure without shifting or settling. Manufacturer guidance commonly points to a flat outdoor surface with a stone or concrete slab below the unit, paired with vents that allow heat and any leaked gas to escape. Leak testing is required before first use, as described in this gas fire pit construction guide.
How to choose the location
Mark the proposed footprint before ordering stone or digging a trench. Check the relationship to the house, fences, decks, railings, trees, roof overhangs, garden walls, irrigation, low-voltage wiring, and buried utility services. Prescott properties vary from broad, open lots to compact courtyards, so the best location isn't always the visually closest point to the back door.
Drainage deserves equal attention. Water that collects beneath the enclosure can affect masonry, corrode metal components, and create service problems. A compacted aggregate subbase and a properly sloped surrounding surface help move water away, while the enclosure itself should include the drainage and ventilation provisions required by the selected system.
How to plan the foundation and vents
An installer typically excavates unstable material, places suitable crushed stone, compacts the base, and creates a level slab or other approved non-combustible support. The finish surface must support the enclosure without transferring movement into the burner assembly. A slab that's slightly out of level can also make the cap look uneven and complicate the final burner installation.
Ventilation must be built into the enclosure, not added as an afterthought. Plan vents on at least two opposite sides so air can move through the structure. For systems that specify it, each opening may need to provide 18 square inches of ventilation, and the final placement must follow the appliance and fuel requirements rather than a generic decorative pattern.
A Prescott homeowner should review these items before construction begins:
Confirm the finished footprint. Include the enclosure, cap, media, seating clearance, and access panels.
Confirm the non-combustible support. Use a stable slab or approved base suited to the site conditions.
Confirm drainage. Prevent water from collecting beneath or inside the enclosure.
Confirm opposing vents. Keep them open, protected from blockage, and positioned for the selected fuel.
Confirm clearances. Measure from the completed feature to structures and combustible materials, not just from the excavation.
The following installation video offers useful visual context for the construction sequence, but local requirements and the selected appliance manual still control the final design.
Natural Gas vs Propane for Gas Fire Pit Construction
The fuel decision affects more than convenience. It changes the supply route, enclosure ventilation, pressure requirements, service routine, and sometimes the best location for the fire feature.
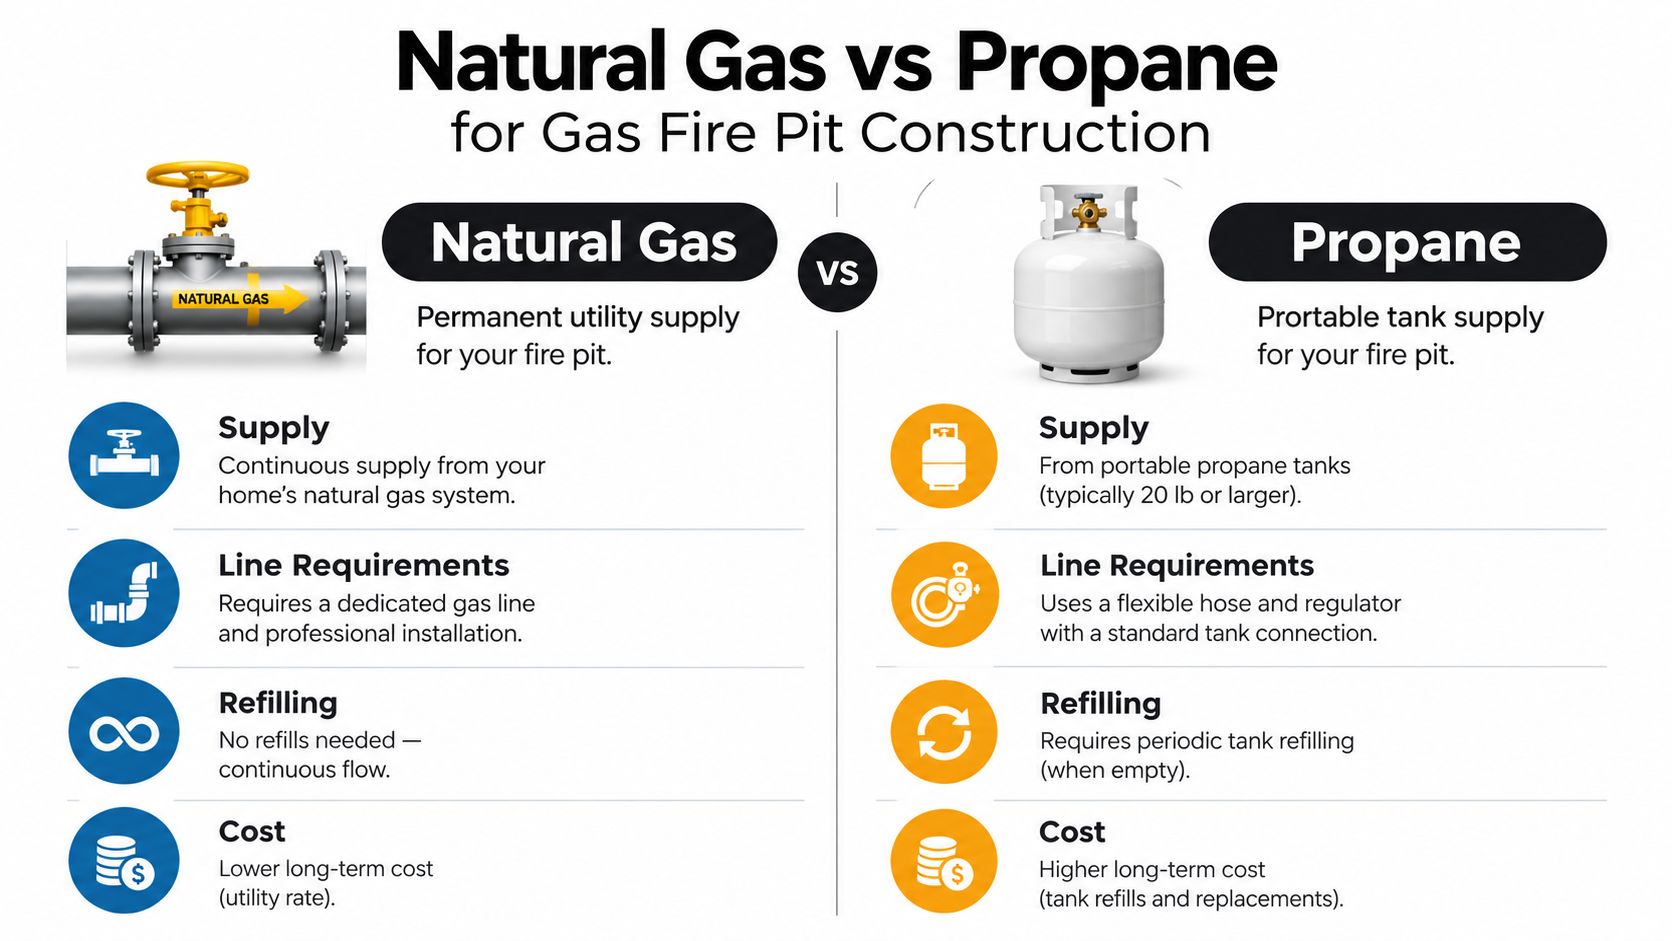
Natural gas suits a permanent installation when the property has an accessible utility supply and the line can be routed properly. It provides continuous fuel without tank handling, but the gas line must be sized for the appliance and installed through the appropriate trade process. Trenching across an existing patio, driveway, or mature plantings can increase the disruption and complexity of the work.
Propane offers more placement flexibility where natural gas isn't available or where trenching would damage finished improvements. The trade-off is tank management and a different ventilation strategy. The enclosure and tank location must be planned together, particularly on smaller Prescott-area properties where a tank can affect appearance, access, and clearance.
Why fuel type changes vent placement
Propane is heavier than air, so propane enclosure vents should be placed lower to help released gas escape. Natural gas rises, so natural gas vents should be placed higher. Ignoring that difference can contribute to gas pooling, delayed ignition, or flame problems.
Typical supply pressure ranges also differ. Manufacturer documentation commonly identifies natural gas pressure around 3.5 to 7.0 inches W.C. and LP gas pressure around 8.0 to 11.0 inches W.C. The exact requirement belongs to the selected burner and appliance documentation, not to a general rule applied to every fire pit. The pressure information and fuel-specific vent guidance are detailed in this gas fire pit installation manual.
Decision | Natural gas | Propane |
|---|---|---|
Supply | Permanent utility connection | Tank-based supply |
Line work | Requires a dedicated, correctly sized gas line | Requires approved connection hardware and tank planning |
Refilling | No routine tank refill | Periodic tank service |
Placement | Best where utility routing is practical | Flexible where a utility line isn't available |
Vent logic | Higher vents because natural gas rises | Lower vents because propane is heavier than air |
Operating economics depend on local utility rates, appliance demand, and how often the feature runs. Homeowners comparing those variables can review this explanation of natural gas cost compared with propane, then discuss the specific supply route with a qualified professional.
The wrong choice usually comes from selecting the fuel after the patio and enclosure are already complete. Decide early, because vent locations, line access, controls, and service clearances all follow from that choice.
Burner Selection, Gas Line Setup, and Installation Workflow
A reliable build follows the listed burner's requirements instead of forcing a preferred shape or decorative material around an unsuitable insert. The burner needs to match the enclosure dimensions, fuel type, gas pressure, ignition system, media, and ventilation design. A listed appliance also gives the installer a defined set of instructions for clearances, controls, and testing.
What the installation sequence looks like
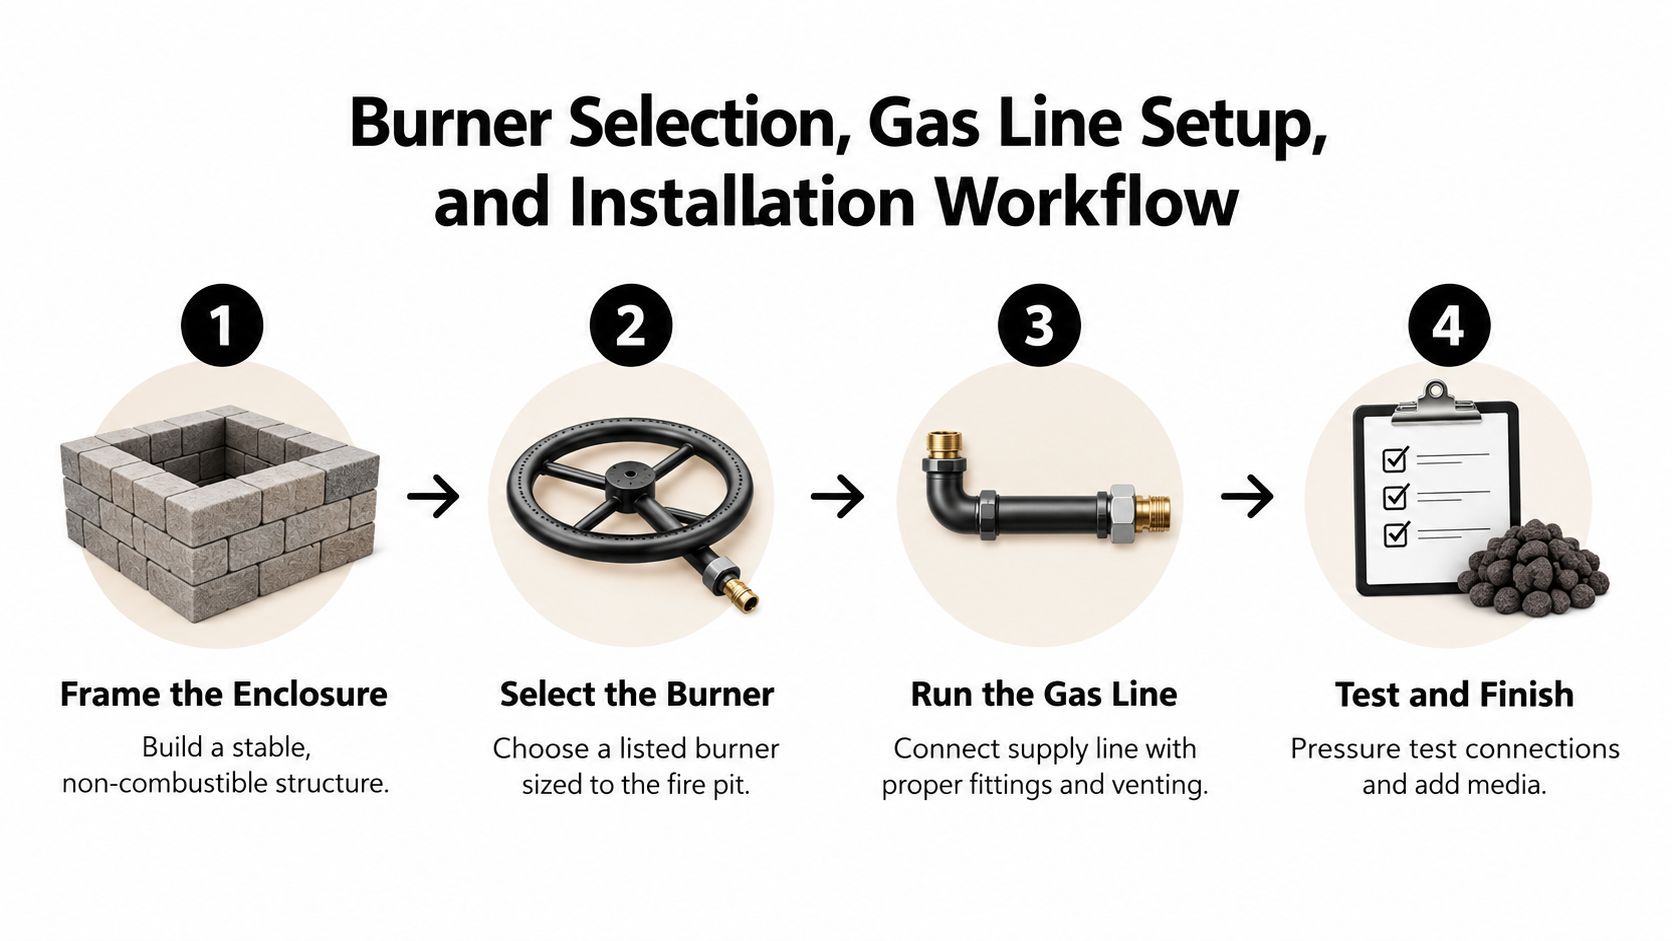
The physical construction generally proceeds in an orderly sequence:
Build the enclosure. Create a stable, non-combustible structure with the required opening, service access, drainage, and opposing vents.
Fit the burner. Set the listed burner assembly according to the manufacturer's required depth and orientation. Don't improvise the burner opening to make a different insert fit.
Route the gas connection. Bring the supply to the valve box or control area with approved fittings and a practical shutoff location.
Install controls and ignition. Electronic ignition may include electrical components and an automatic shutoff, so the wiring and gas controls need coordinated installation.
Test before finishing. Check connections for leaks, verify ignition and flame behavior, and confirm that controls shut the appliance down correctly before adding final media and sealing access areas.
LP installations commonly require two vents on opposing sides, with each vent providing a minimum opening of 18 square inches, according to this enclosure ventilation guidance. Those openings must remain functional after the stone veneer, stucco, or cap is installed.
Where DIY work should stop
Homeowners can often help with design decisions, finish selection, planting adjustments, and some non-regulated surface preparation. Gas piping, pressure testing, appliance connections, and electrical work for ignition systems are different. A licensed gas professional should determine the line size, make the connections, test the system, and handle any required inspection.
The shutoff valve should be accessible, typically within 6 feet of the appliance where the applicable installation requirements call for that arrangement. It shouldn't be buried beneath a cap, hidden behind permanent masonry, or placed where emergency access is difficult.
A helpful comparison is the process of finding a Big Bear gas plumber. The location differs, but the underlying lesson is relevant everywhere: gas work belongs with a qualified trade professional who understands sizing, fittings, testing, and local requirements.
First light should be deliberate. The installer should verify the flame pattern, check for delayed ignition, inspect the media placement, confirm that vents remain open, and show the homeowner how to operate the shutoff and ignition controls.
Safety Clearances, Codes, and Permit Triggers
A Prescott fire pit can appear comfortably separated from the house while its burner, hot cap, flame, seating, or nearby vegetation creates a clearance problem. Measure from the appliance and enclosure to siding, fences, decks, railings, roof elements, plants, and stored materials. Treat those distances as part of the construction plan, not as a finish detail.
Fixed gas fire features are designed for outdoor installation. Common guidance calls for 36 to 48 inches of clearance from structures or combustible materials. Some appliance manuals specify 48 inches at the sides and rear and 96 inches overhead. The appliance manual and local authority determine the final dimensions because requirements vary by fuel, enclosure, and jurisdiction. The broader safety framework may include ANSI Z223.1/NFPA 54 for fuel gas and ANSI/NFPA 70 for electrical work, as summarized in this fire pit safety guidance. Review these fire pit safety guidelines before finalizing the enclosure size and surrounding layout.
When a Prescott project may need review
Discuss permits before excavation if the project includes a permanent enclosure, a new gas line, or electronic ignition. Prescott-area requirements depend on the city or county authority, the scope of gas and electrical work, and whether the feature connects to an existing patio or structure.
Ask the local building department about:
Gas piping permits. A new or extended line may require an approved plan, licensed installation, pressure testing, and inspection.
Electrical permits. Electronic ignition and automatic shutoff components may involve regulated electrical work.
Building review. Permanent masonry or concrete construction can fall under local requirements.
Utility locating. Confirm buried utility locations before digging or trenching.
HOA approval. Covenants may address fire features, visible tanks, finishes, setbacks, or operating hours.
Permit questions are easier to resolve before materials arrive and excavation begins.
What homeowners should document
Keep the burner model, installation manual, fuel type, pressure requirements, inspection records, and shutoff location with the property documents. Photograph concealed lines before backfill so future repairs have a reliable reference, and retain approval records when inspections apply.
A permit is not a delay to work around. It can identify clearance, venting, fuel, and access problems while changes are still practical. That matters on a finished patio, where correcting an undersized enclosure or poorly placed utility route can require demolition.
Cost, Timeline, and Maintenance Planning
The market for gas fire pits reflects how widely these features are now used in residential and commercial outdoor spaces. One market report estimates the global gas fire pits market at about USD 5.2 billion in 2023, with a projection of USD 8.9 billion by 2032 at a 6.2% CAGR. Another estimate places the residential outdoor gas fire pit market at USD 2.066 billion in 2024. These figures are projections and market estimates, not a budget for a Prescott installation, but they show why product choices and installation standards have become more developed. See the gas fire pit market overview for that market context.
Your project cost is shaped by the enclosure material, excavation, drainage, base, burner, ignition, gas-line route, controls, finish materials, permits, and licensed trade work. A simple insert on an existing suitable patio has a different scope from a custom stone feature with new trenching, seating, electrical controls, and site restoration. A responsible estimate should separate those components rather than present one unexplained total.
Why permanent installations take planning
A built-in fire pit often involves several handoffs. The site crew prepares the area and enclosure, the gas professional connects and tests the fuel system, and an electrician may coordinate ignition components. Material availability, inspection timing, access to the yard, and weather can all affect the schedule.
Maintenance should be simple, but it isn't zero. Before seasonal use, inspect the burner, remove debris from the media and vents, check the enclosure for cracks or settlement, and confirm that controls operate normally. Keep vents clear throughout the year, especially after wind moves dust, leaves, or mulch against the enclosure.
For winter shutdown or an extended period without use, follow the appliance manual. Turn off the fuel supply as directed, protect controls from moisture, keep the burner area covered with an approved cover, and inspect the system before relighting. Never conceal a valve or vent while improving the appearance of the surround. Guidance on fire pit installation cost can help homeowners frame the scope before requesting a site-specific plan.
Frequently Asked Questions About Gas Fire Pit Construction
Can I run the gas line myself?
Gas-line work shouldn't be treated like ordinary yard construction. Have a qualified gas professional determine sizing, make connections, perform testing, and coordinate any required inspection. Homeowners can help plan access and finishes, but buried or pressurized gas work requires the right licensing and documentation.
Is a built-in enclosure better than an insert?
Neither is automatically better. An insert can simplify the visible design and may suit an existing patio, while a built-in enclosure offers more control over dimensions, materials, seating, and integration with the outdoor surroundings. The burner must be listed for the intended application and installed with its required ventilation and clearances.
What maintenance does a gas fire pit need?
Inspect the burner, vents, media, enclosure, controls, and shutoff before use. Remove debris, look for settlement or damage, and have a professional investigate unusual odors, delayed ignition, weak flames, or changes in burner performance.
How does local code review affect planning?
Ask before excavation, especially when the project includes a permanent enclosure, new gas piping, electronic ignition, or trenching. Prescott-area requirements can differ by jurisdiction and property conditions, so verify permits, utility locations, HOA rules, clearances, and inspection steps with the applicable authority.
R.E. and Sons Landscaping provides design-build planning and installation for custom gas fire pits, stone and concrete surrounds, paver patios, and complete outdoor living spaces in Prescott, Prescott Valley, Chino Valley, and nearby Northern Arizona communities. Visit R.E. and Sons Landscaping to discuss your yard, fuel options, site requirements, and a code-aware path from concept to finished fire feature.
Comments